WARNING: THIS IS A LATEX PRODUCT, DON'T USE IT IF YOU ARE ALLERGIC!!!
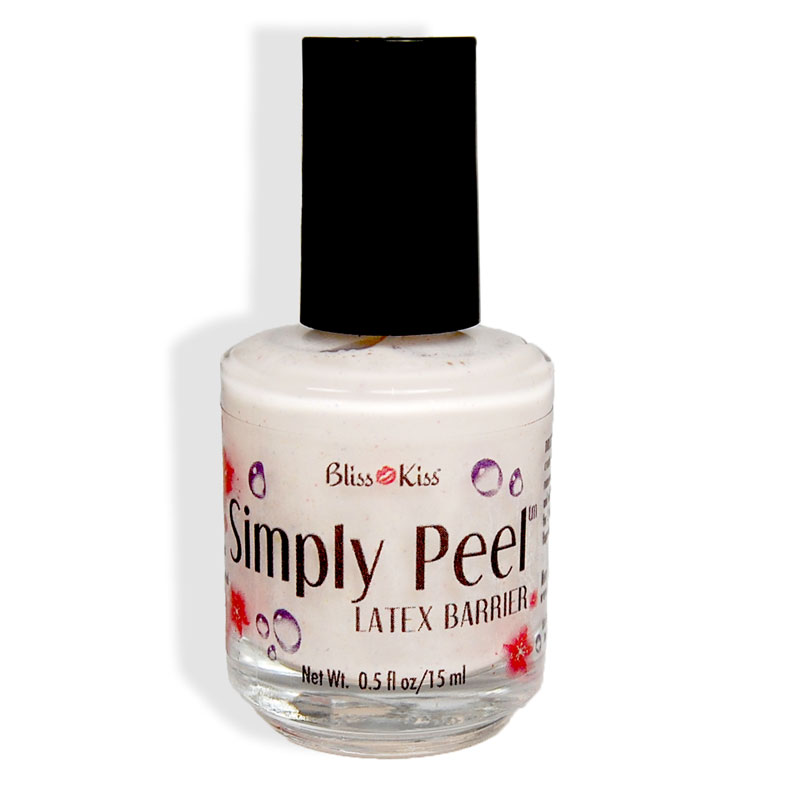 |
| Image Credit: http://nailcarehq.com |

The first thing that I wanted to try after getting this product was using cuticle remover while wearing it. Much to my surprise, Ana informed me that cuticle remover can damage your living skin just as much as your cuticles. To think I've been damaging my fingers this whole time! So I put on this barrier around my nails before I used cuticle remover so that it wouldn't harm my living skin but I was still able to safely remove my cuticles.


After my nails were all clean from the cuticle remover, I enjoyed a few rounds of Bliss Kiss to get my nails super healthy!


I started off with two coats of April 2014 for the base of my crazy nail art extravaganza because I felt like doing some purple nails. I also used one coat of Simply Quick top coat from Ana to seal this before I moved on.

This is what Simply Peel looks like as soon as you apply it...

And this is what it looks like when drying/dried. It has little glitters in it! GLITTERS.

I chose a gradient to begin with since I just love them I used April 2014 (Enchanted Polish), Charmingly Purple (ILNP Brand), and June 2014 (Enchanted Polish).

This is what it looks like after one quick grab with tweezers! Still a tiny amount of clean up will be required since you can't get it too close to your design or it'll pull up too, but soooo much better than gradients without liquid latex!

After a little bit of clean up and another coat of Simply Quick, my gradient base was done!

Next I stamped over one of my nails using June 2014 and one of my Bundle Monster plates! While this particular color wouldn't have been so terrible to get off skin, this barrier saves so much time on clean up and would be a lifesaver for reds/blacks/deep blues!

The next thing that I wanted to try was using Simply Peel for some negative space designs. I decided to do a half moon design since it was the easiest for me to work with, having not been use to maneuvering the latex very well.


And here's what it looked like after removing it!!! Without any clean up! I'm telling you, magic.

Here's my final, very purple look with a final coat of Simply Quick over everything. Liquid latex is a lifesaver in general, but Simply Peel is by far my favorite that I've tried.
OVERALL: The drying time will vary based on how thick of a coat that you put on, I found mine to be roughly 2 minutes in general. You'll want to be sure to do alternating nails so you don't stick your fingers together because it'll just all pull off in one piece! Also, make sure that you clean your brush off after each use so the latex doesn't dry off and clump up the whole bottle.
AGAIN: DO NOT USE THIS IF YOU HAVE A LATEX ALLERGY!!!
This product was provided, free of charge, for my honest review. I love this product a ton and I'm absolutely going to be purchasing more as soon as I run out!
If you want to try this product out for yourself, head over to Nail Care HQ and grab a bottle for yourself! Simply Peel is available for $11.99/15ml
No comments:
Post a Comment